Meeting recording
Meeting recording is a separate path from dictation. The transcription is not inserted at the cursor; it accumulates in Settings → History → Meetings. By default you record first and start transcription after the meeting.
Before you start
- To keep the other side of a call, turn on system audio. In the quick controls, turn on
System AudiounderAudio Sources, and pressRequest System Audio Permissionthe first time. - Headphones keep other people's voices from leaking back into your mic, which gives a cleaner result. With speakers, the same speech can be captured once on each track.
- Check your free disk space. One track takes about 1.9MB per minute, twice that with both sources. If free space drops below 500MB, the session ends automatically.
Recording

- Click the menu bar icon to open the quick controls.
- In the
Session recordingblock, check thatRecord only, do not transcribeis on. It's on by default. - Press
Start Recording (transcribe later). - When the meeting ends, press
Stop Recording.
A session can record up to 3 hours. If the app quits unexpectedly while recording, the audio up to that point is kept and the session reappears in the history on the next launch.
Transcribing and creating documents
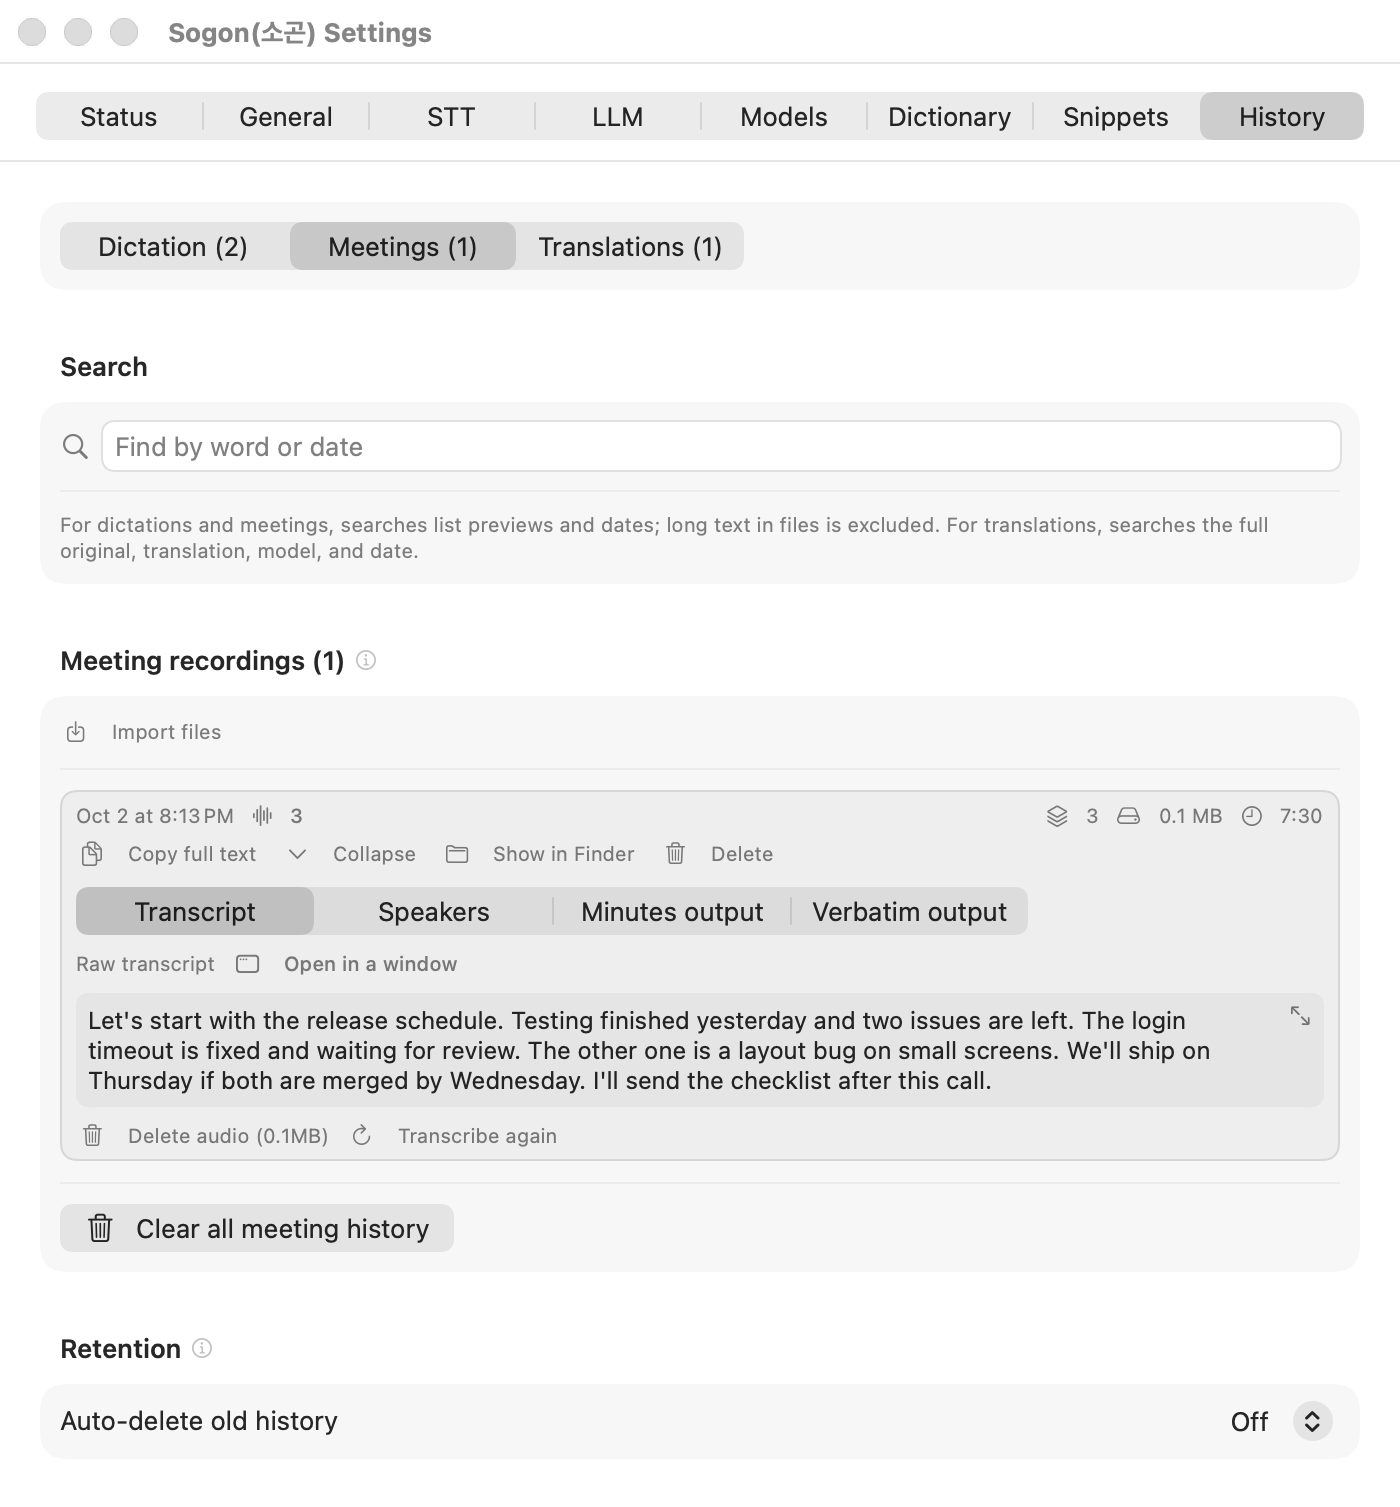
- Open Settings → History and choose
Meetingsin the switcher at the top. - The new session is marked
Awaiting transcription. Expand it. - Check the number and size of the kept audio segments and press
Start transcription. Progress shows asTranscribing 3 / 12and continues even if you close Settings. You don't choose an output type at this point. - When it finishes, choose what to view in the selector at the top of the item:
Transcript,Speakers,Minutes output, orVerbatim output.Speakersappears only when speakers can be attached. - Press
Create minutes documentorCreate verbatim document. - Take the result with
Export .txt,Export .md, orSend to Notes.
| Output | Contents | Needs an LLM |
|---|---|---|
| Transcript | The transcription in time order | No |
| Verbatim | The transcript split into paragraphs at pauses. With Clean up transcript (LLM) on, sentences and punctuation are tidied too. | Optional |
| Minutes | A document with four sections: summary, decisions, action items, and other | Yes |
One session can have both minutes and a verbatim document. You don't need to transcribe again.
If the transcription is shorter than 200 characters, Sogon suggests a verbatim transcript instead of minutes. You can continue with Make minutes anyway.
Watching the transcription while recording
To see the transcription during the meeting, turn off Record only, do not transcribe before starting, choose a Session type, and press Start Minutes Session or Start Verbatim Session. The session type cannot change while recording.
- Transcription is finalized in chunks of about 2–3 minutes. The first result appears after at least 2 minutes. It's not live captioning.
- In a verbatim session,
Show session transcriptshows the finalized text, and you can open it in a window that floats over your meeting. That window never takes keyboard focus. - Turn on Settings → STT →
Live previewto see unconfirmed text in gray within 2–5 seconds. It works only with WhisperKit and uses more CPU. It's off by default.
Managing audio
- Audio from record-only sessions is kept after transcription, so you can
Transcribe againwith a better model later. - To free space, use
Delete audioon the item. Once deleted, the session cannot be transcribed again. - You can expand an item and play its audio even before transcribing.
Next steps
- Attach who said what: Attach speakers
- Transcribe recordings you already have: Import files
- Dictate during a meeting: Dictation